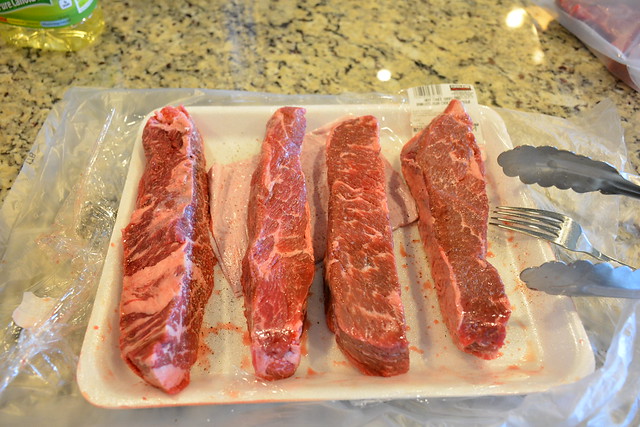
I was shopping at Costco a couple of months ago and I stumbled across a package of beef short ribs. I always think I'd like to try them, but I had never cooked with them. I figured it was time to try. I reviewed a couple of different recipes and here's what I came up with.
This will make your house smell soooooooooo good!
AND
Here's what you need -
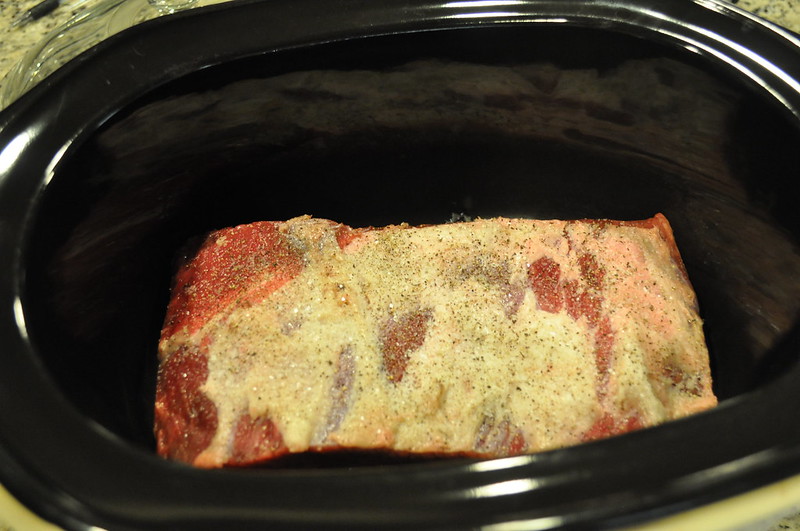
- Beef short ribs, boneless. I tend to use around a pound, or one short rib per person. I've made this with as many as 7 ribs or as little as 3 ribs. This is a forgiving recipe.
- 1/2 cup flour - more or less.
- 1 Tablespoon olive oil
- 1 onion
- 1 clove garlic
- 1 1/2 cup chopped carrots
- 1 cup beef stock
- 1 bottle of stout beer - 12 oz (or use whatever beer you have on hand)
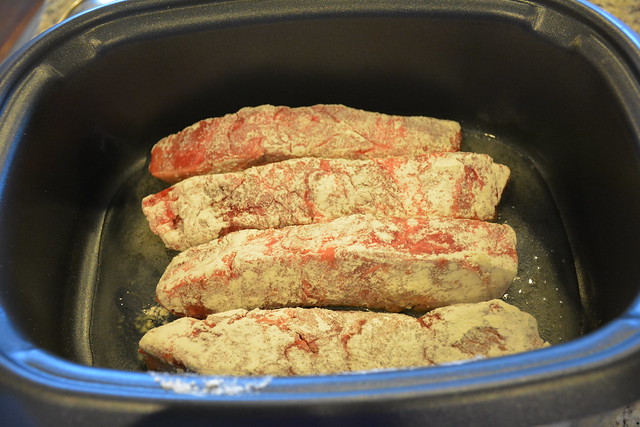
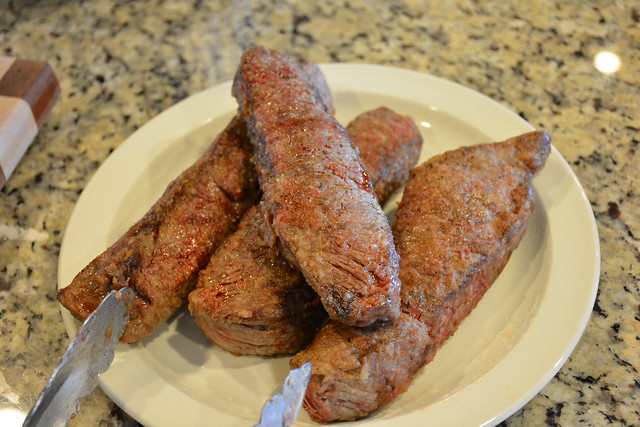
Sprinkle the ribs with salt (I prefer kosher) and pepper, then dredge the ribs in flour until lightly coated. Shake off the excess flour.
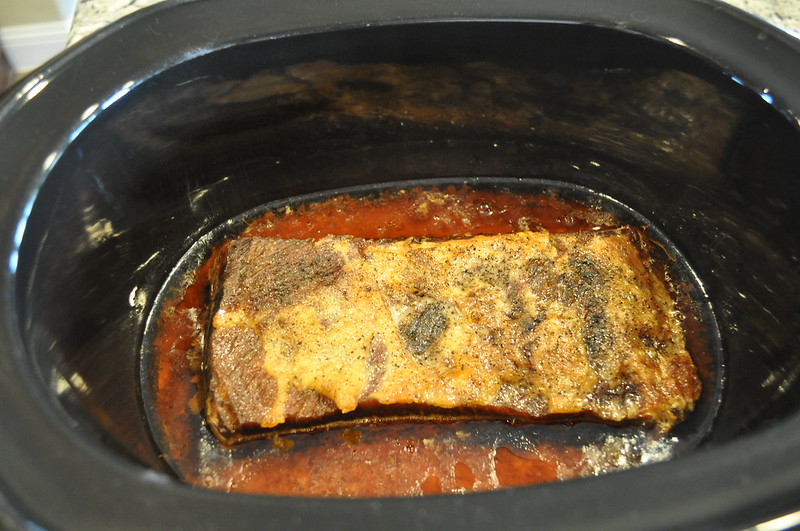
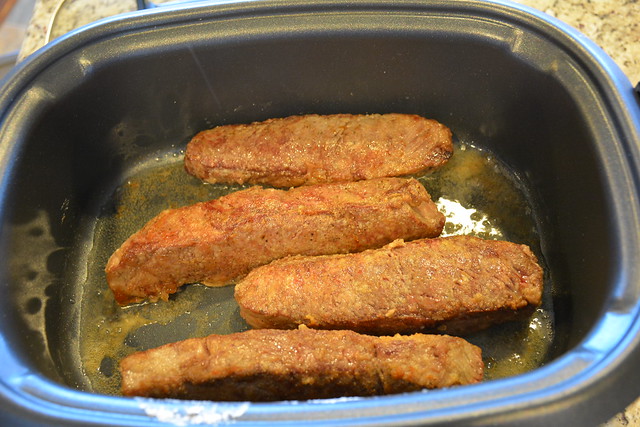
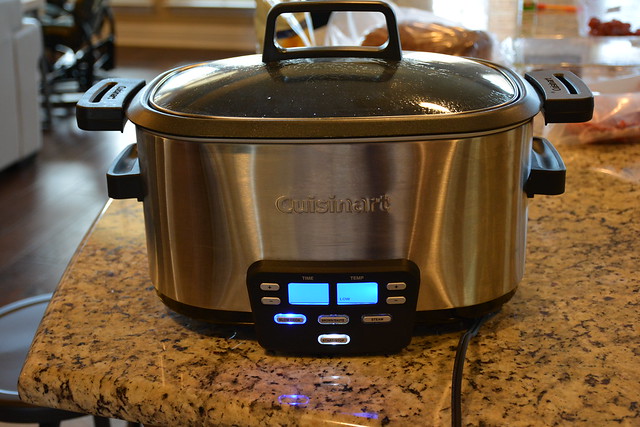
Add the olive oil to a skillet - or - if you have a super cool crock pot that can also sauté, brown your ribs in there. You don't need to fully cook them, just get them a bit browned on all four sides.
Here's they are sautéing away.
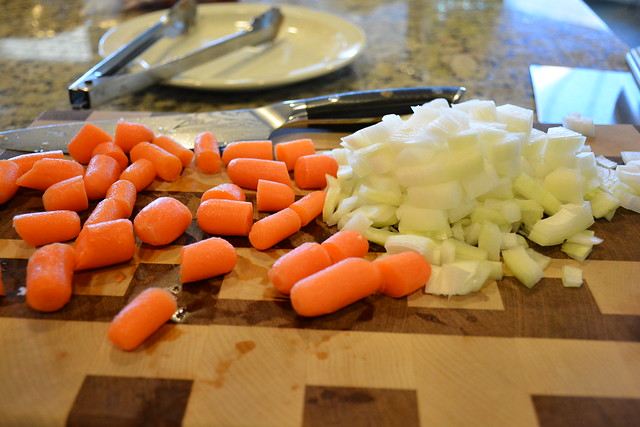
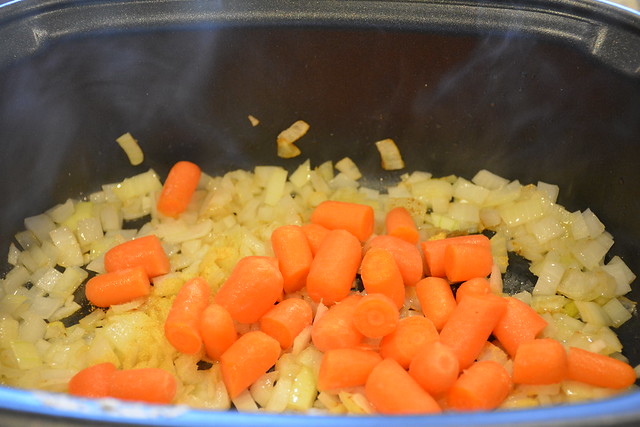
While the ribs are sautéing, chop up one onion and some carrots. This time I used baby carrots and I just chopped them in half. Other times I've used whole carrots and chopped them up. Whatever pleases you works.
Also, please note my super beautiful cutting board that my father made. Yup, he MADE that!
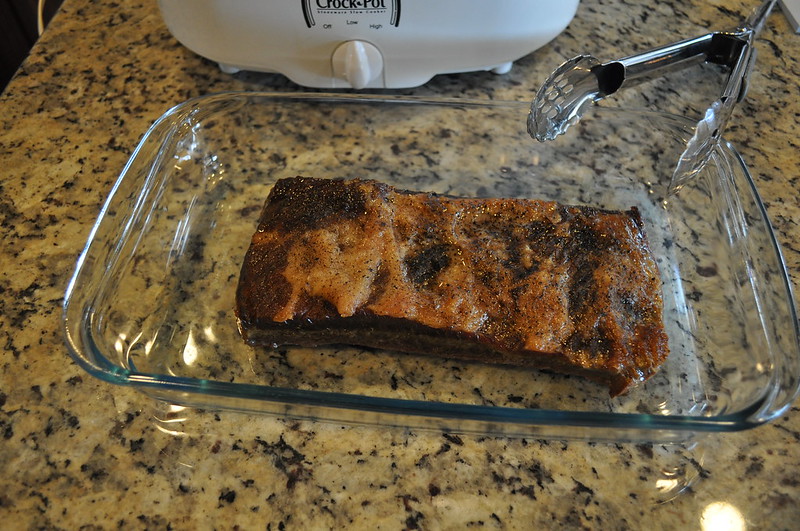
Pull the browned meat out of the skillet/crock pot and set it aside.
Add your chopped onions and let them soften a bit. Then add in the carrots and the garlic that I forgot to take a picture of.
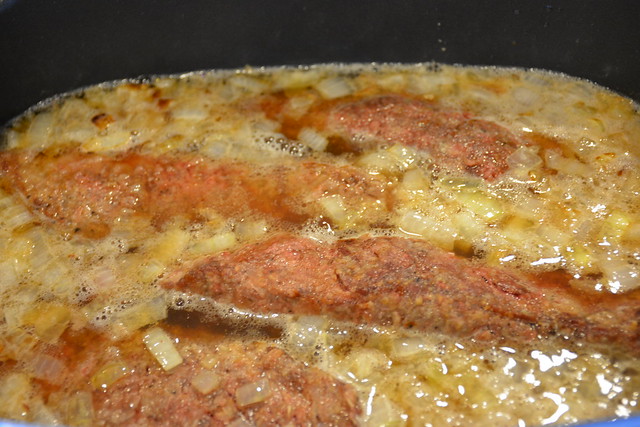
After a bit (or whenever you want really, like I said, this recipe is very forgiving), add in the beef stock and a bottle of beer.
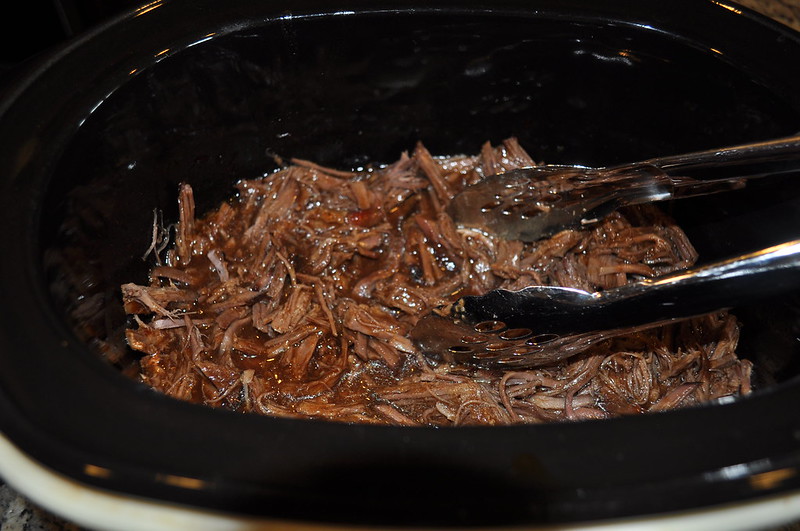
Add back in the beef ribs and cover.
Set your crock pot on low and cook for however long you'd like. I put mine on around 8:00am and we ate dinner at 6:30.
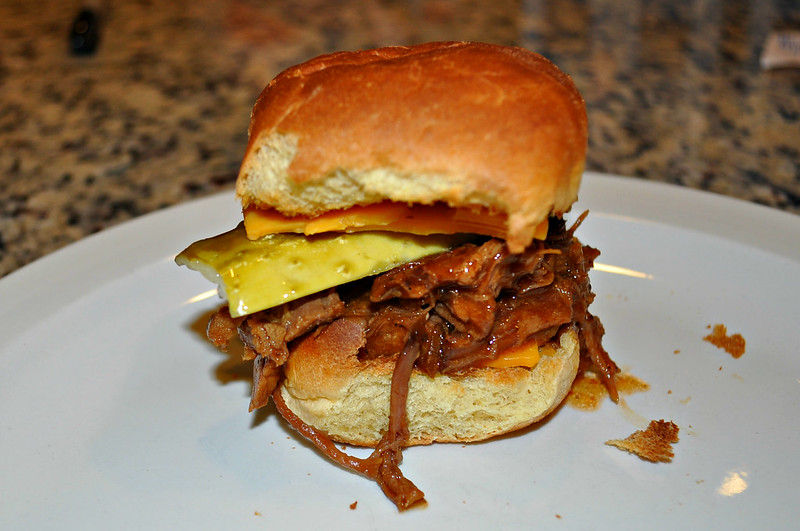
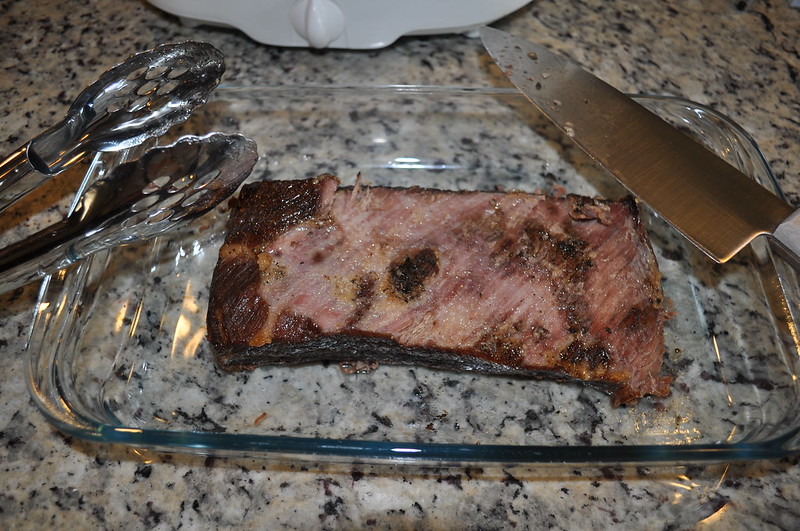
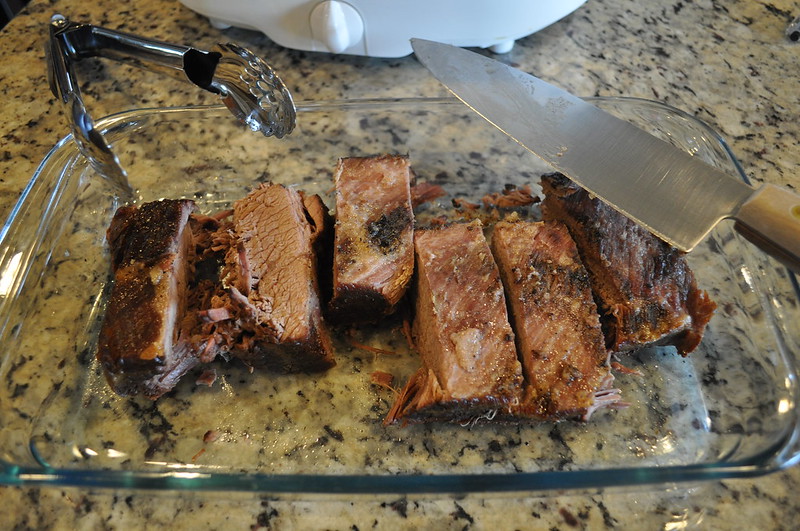
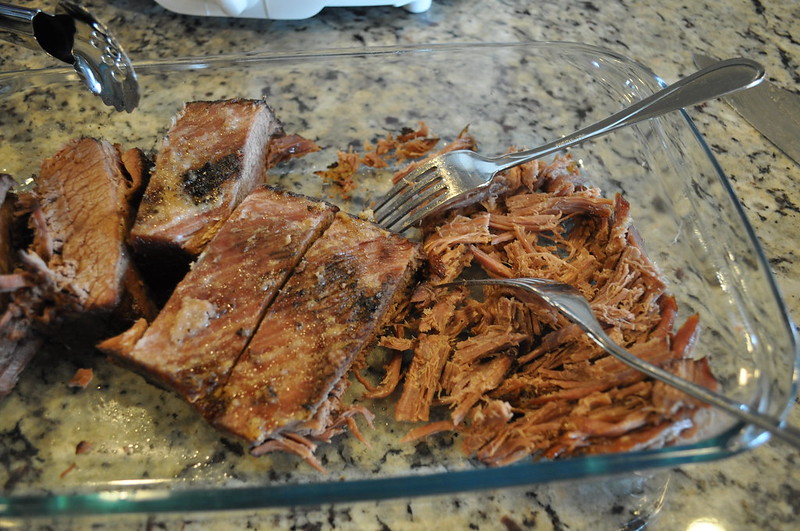
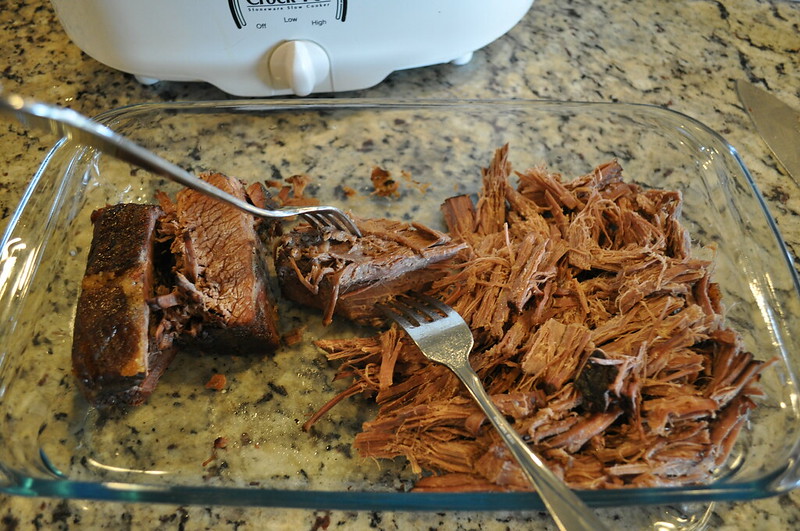
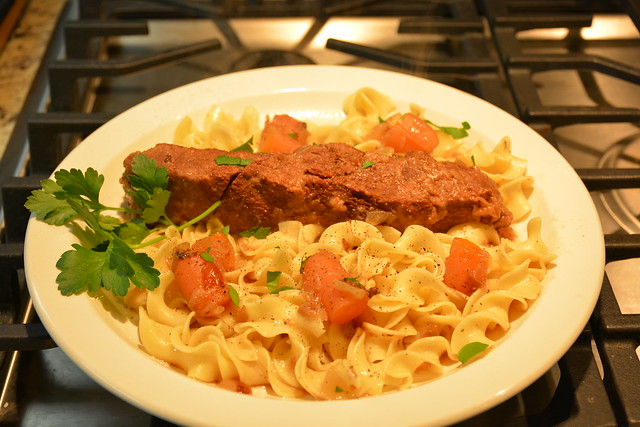
This time I served it with noodles, but it is also fantastic with mashed potatoes or rice.
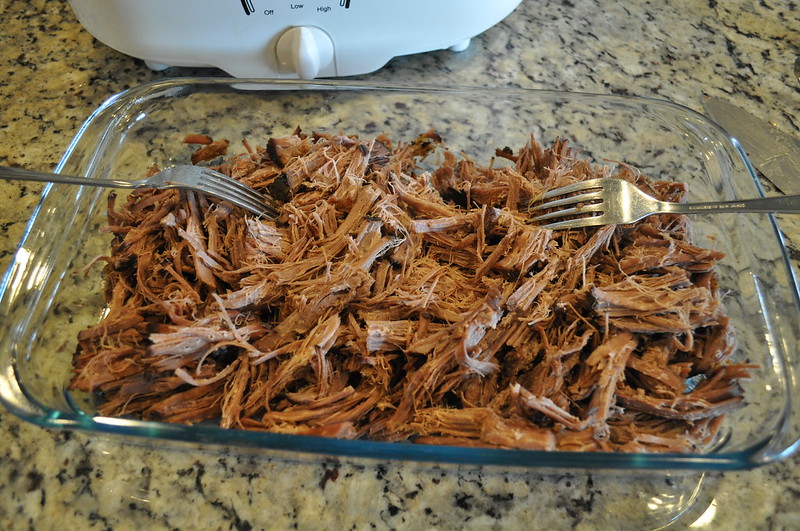
The meat is fork tender and really is good.
Enjoy!